Understanding the Gmail Blocking Process
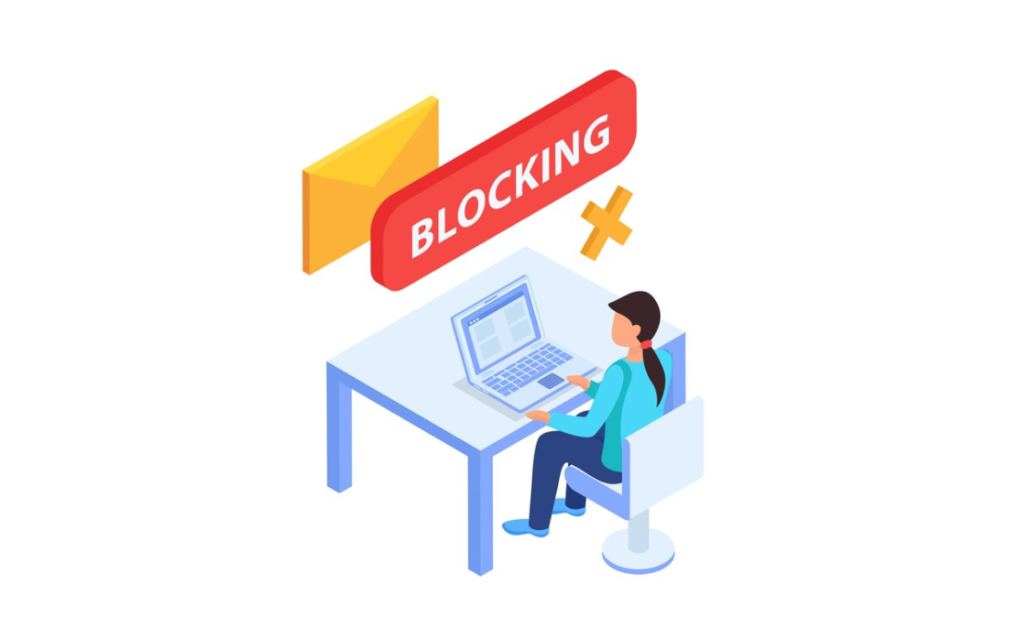
Gmail’s email blocking feature offers users a handy solution to declutter their inbox, steering away unwanted emails. By blocking certain email senders, users can effectively lower the numbers of spam or disturbing emails while improving their overall email experience.
Having explored how to block unwanted emails on Gmail, let’s transition to understanding how to send encrypted emails for secure communication on the same platform.
Steps to Block an Email Sender in Gmail
- Open the specific email from the sender you wish to block;
- Locate the “More” button, represented by 3 vertical dots, adjacent to the “Reply” button located at the upper right of the email interface. Be careful not to mix it up with the “More” button on the activity bar at the top;
- Click on this button and select the “Block [sender_name]” option from the drop-down menu;
- A confirmation window will pop up. Confirm your decision by clicking “Block”.
This simple process ensures that all future emails from the blocked sender will automatically be directed to your spam folder.
Guidelines to Remove a Sender from Gmail’s Blacklist

- Navigate to the “Settings” option, symbolized by a gear icon, located at the top right of your Gmail interface;
- In the drop-down menu, select “Settings”;
- Choose the “Filters and Blocked Addresses” tab;
- Scroll down to the bottom, where you’ll find a field titled “The following email addresses are blocked. Messages from these addresses will appear in Spam”;
- A list of all blocked emails will be under this field. To unblock a specific email, click the “Unblock” button next to the email address. For unblocking multiple emails simultaneously, check the boxes on the left of the desired email addresses, then click “Unblock selected addresses”.
Creating Advanced Blacklist Rules with Filters
For users who want to create more diversified and flexible blacklist rules, such as blocking all emails ending with “@example.com”, Gmail’s filters function is the perfect tool. This feature allows you to set up specific rules, offering you greater control over your inbox.
Sometimes, despite blocking certain senders, some spam emails might find their way into your inbox. If you’re experiencing such issues, it might be worth looking into whether these emails are slipping through due to any loopholes in your filter rules or if they’re coming from different email addresses.

Blocking and filtering unwanted emails is a significant step towards a clean, manageable inbox. It’s also an important aspect of online safety, as it can help protect you from potential phishing scams and malware. Regularly updating your blacklist and maintaining an efficient filter system is key for your digital wellbeing.
Understanding how to block and unblock email senders in Gmail efficiently is a valuable skill in the digital age. By learning how to manage and filter your emails, you’re not just freeing up your inbox, but also taking an essential move to safeguard your online privacy. With these easy steps and tips, you can navigate and take control of your Gmail inbox like a pro.
Conclusion
Mastering the art of email management is an essential skill in today’s digital world, and knowing how to efficiently block, unblock, and create personalized blacklist rules in Gmail plays a significant role in that. Not only does it equip you with a cleaner, clutter-free inbox, but also it safeguards your online privacy by shielding you from potential threats. The more adept you become at utilizing Gmail’s email blocking and filtering features, the more streamlined your electronic correspondence becomes, ultimately leading to a more efficient, productive, and safer online experience.